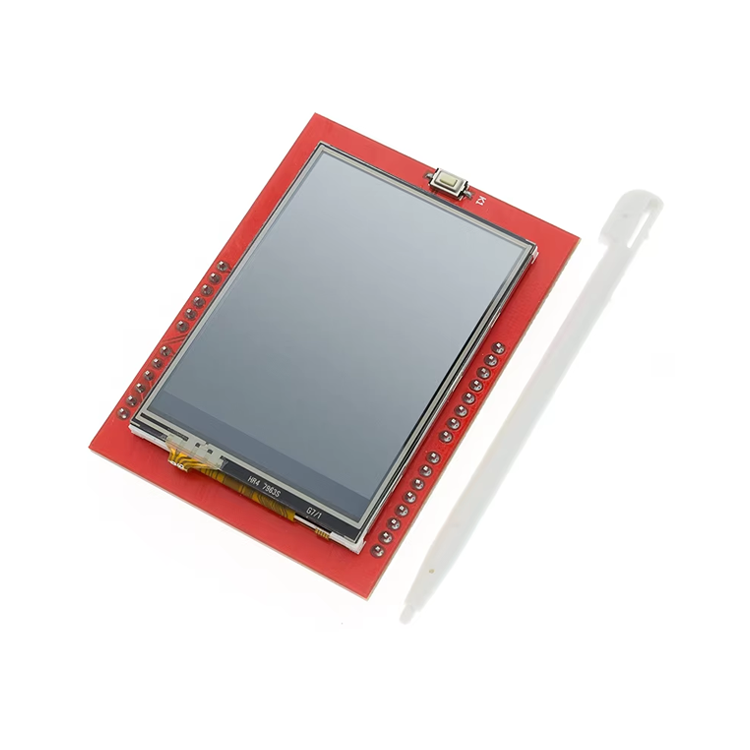
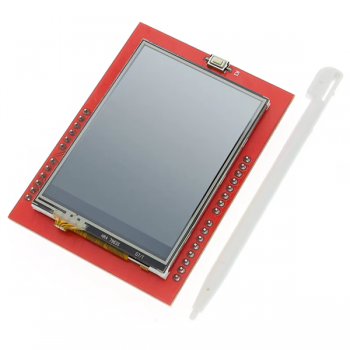
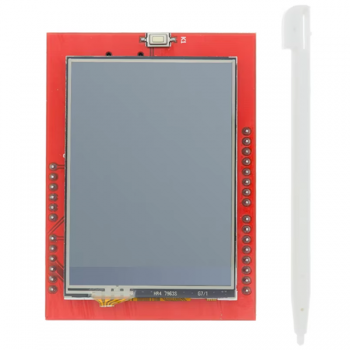
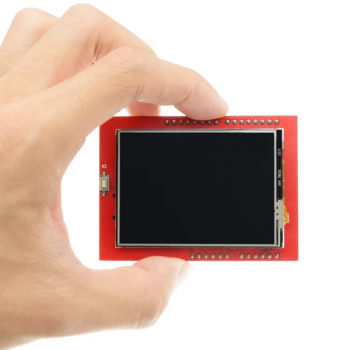
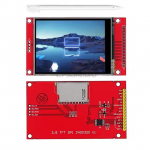
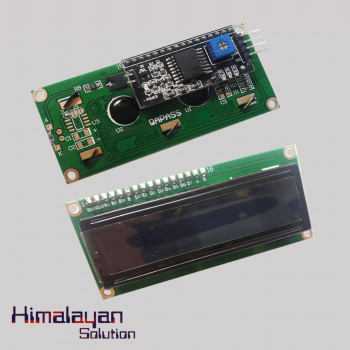
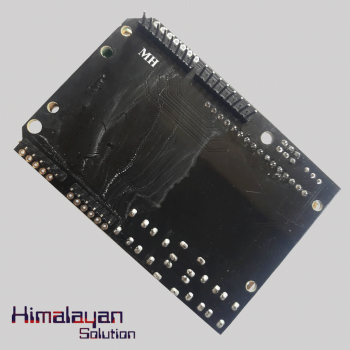
2.4 Inch TFT LCD Touch Screen Module for Arduino UNO R3/Mega2560 with Touch Pen & SD Card Slot
Enhance your Arduino projects with this versatile 2.4 inch TFT LCD touch screen module, compatible with both Arduino UNO R3 and Mega2560 boards. Featuring a 320x240 resolution and 65K RGB color support, it delivers vibrant visuals. With low power consumption and integrated touch functionality (including a touch pen), this module is perfect for interactive applications. Easy to install with an 8-bit parallel interface and an SD card slot for expanded capabilities. Includes a comprehensive Arduino library to simplify development.
Availability: In Stock
| Compatibility: | Works with Arduino UNO R3 and Mega2560; plug-and-play setup. |
| High Resolution: | 320x240 resolution for clear visuals. |
| Color Support: | 65K RGB color support for rich, vibrant displays. |
| Power Efficiency: | Operates on 5V/3.3V with low power consumption. |
| Touch Functionality: | Includes a touch pen for enhanced user interaction. |
| Fast Refresh: | 8-bit parallel interface for quicker updates than SPI. |
| Expandable: | Features an SD card slot for additional storage. |
| Comprehensive Library: | Comes with an Arduino library and sample programs. |
This 2.4-inch TFT LCD touch screen module with a color display and touch functionality is designed for use with Arduino boards, specifically the Arduino UNO R3 and Mega2560, for easy plug-and-play setup. Here’s a summary of its main features and specifications:
Key Features:
-
Resolution: 320x240 pixels for sharp visuals.
-
Color Support: 65K RGB, providing a rich and vibrant display.
-
Touch Functionality: Interactive touch input, along with a touch pen for easy operation.
-
Compatibility: Works seamlessly with Arduino UNO and Mega2560.
-
Voltage: Supports both 5V and 3.3V power, with onboard level shifting.
-
Interface: 8-bit parallel, offering a faster refresh rate than serial SPI.
-
SD Card Slot: Additional expansion capability for projects requiring storage.
Specifications:
-
Driver IC: ILI9341.
-
Screen Size: 2.4 inches.
-
Active Display Area: 48.96mm x 36.72mm.
-
PCB Size: 72.20mm x 52.7mm.
-
Temperature Range: Operating: -20°C to 60°C; Storage: -30°C to 70°C.
-
Weight: 39g (packaged).
Pin Interface:
-
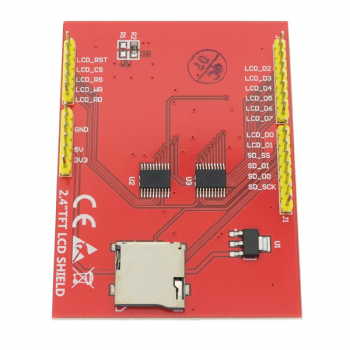
LCD_RST: LCD reset (active low).
-
LCD_CS: LCD chip select (active low).
-
LCD_RS: Command/Data selection (low = command, high = data).
-
LCD_WR: LCD write signal.
-
LCD_RD: LCD read signal.
-
GND: Ground.
-
5V: 5V power input.
-
3V3: Optional 3.3V power input. 9-16. LCD_D0 - LCD_D7: 8-bit data bus. 17-20. SD_SS, SD_DI, SD_DO, SD_SCK: SD card SPI interface.
This module also includes an Arduino library with sample programs for a variety of applications, making it straightforward for prototyping and project integration.
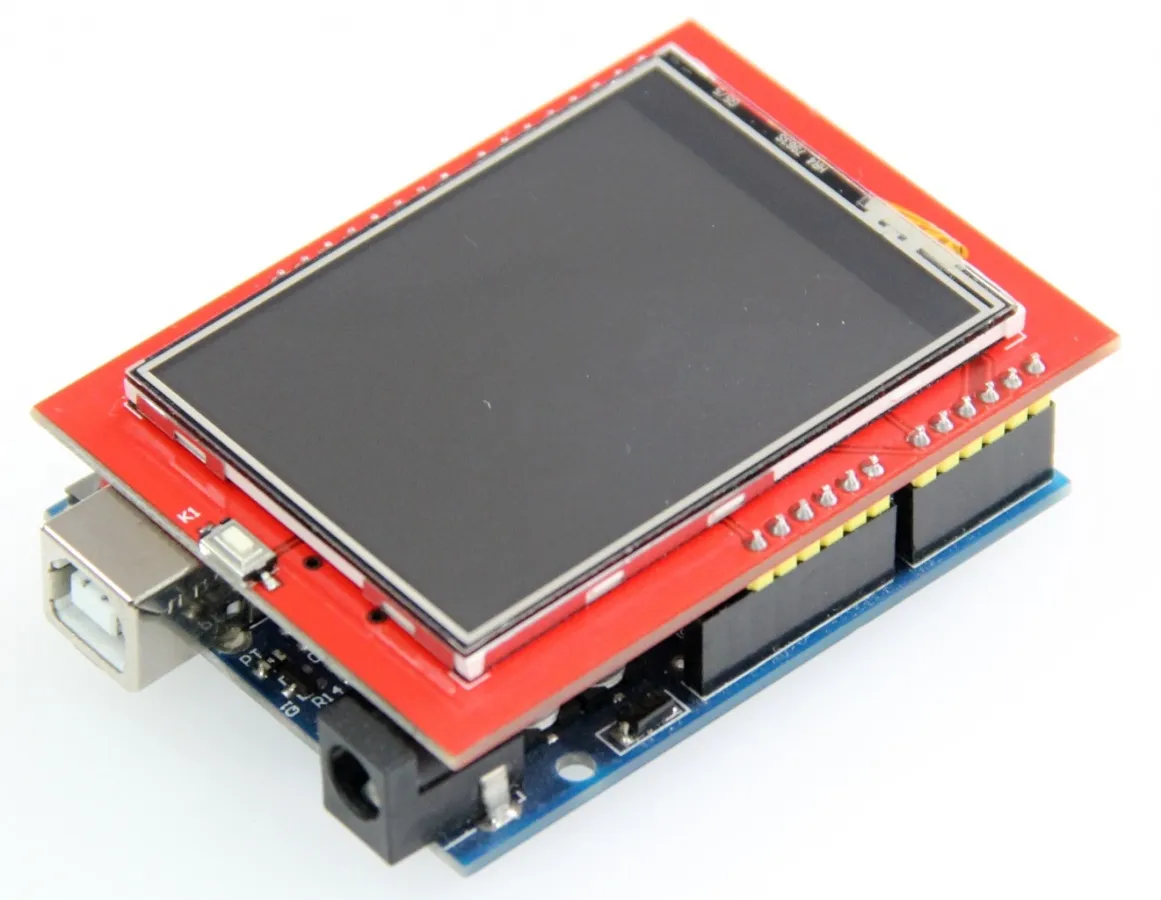
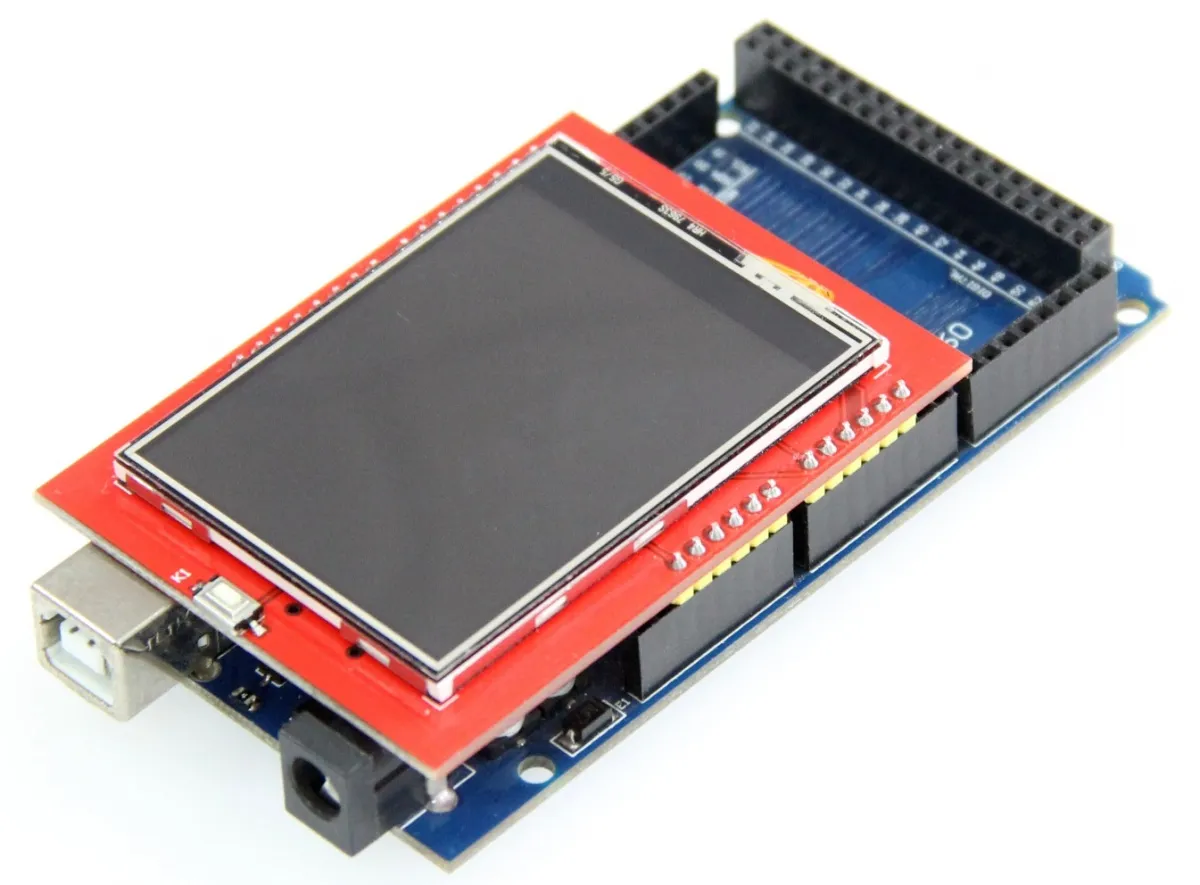
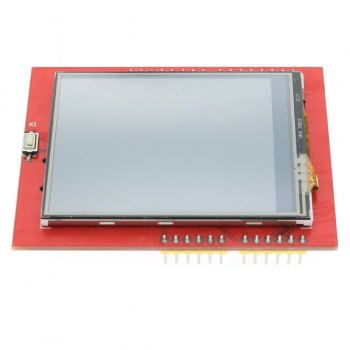
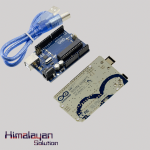
Arduino UNO direct insertion picture Arduino Mega2560 direct insertion picture
Here’s a step-by-step guide to use the 2.4-inch TFT LCD touch screen module with an Arduino:
Step 1: Download the Test Program
-
Download the Arduino test program from the provided source or download column.
-
Refer to the test program documentation included in the package for specific details about each test.
Step 2: Connect the Arduino Development Board
-
Directly plug the TFT module into your Arduino UNO or Mega2560 board.
-
Once connected, power on the Arduino board.
Step 3: Copy the Required Libraries
-
Ensure that the Arduino IDE is installed on your computer. If not, download it from the official Arduino website.
-
Decompress the downloaded test program package.
-
Copy the libraries from the Install libraries folder (visible in the image you uploaded) into the libraries folder of your Arduino project directory.
-
Note: If you’re unsure where the Arduino project directory is, check in your Arduino IDE settings or look in the Documents/Arduino folder.
-

Step 4: Compile and Upload the Program
-
Open the sample code from the Example folder within the package in the Arduino IDE.
-
Compile the code and upload it to the Arduino board.
-
Tip: If you're new to this, go to the Arduino IDE menu and click Sketch > Upload after selecting the right board and port in Tools.
-
Step 5: Run and Observe
-
After uploading, the program should start running. Observe the display; if it shows the expected visuals, the program has successfully uploaded and is running.
-
For example, you should see a graphical display similar to what is shown in the images.
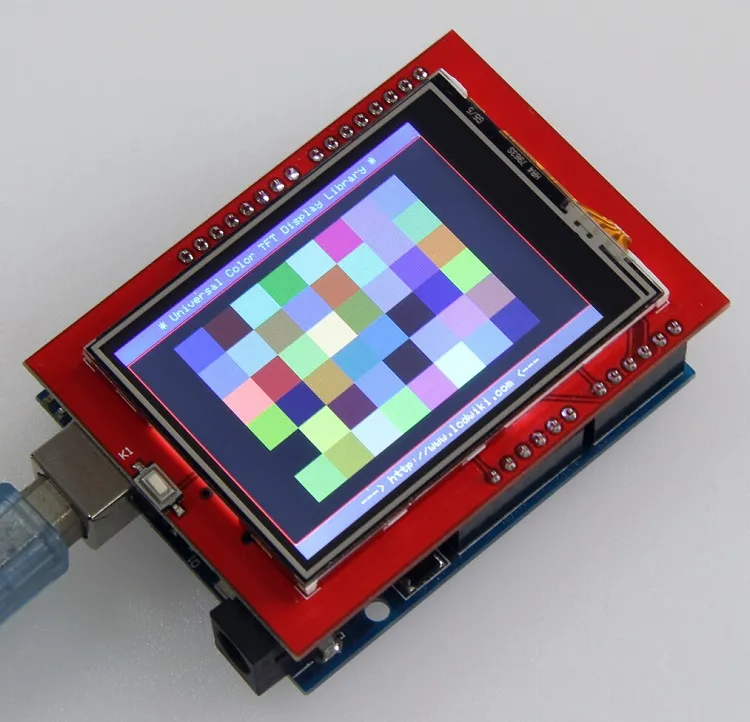
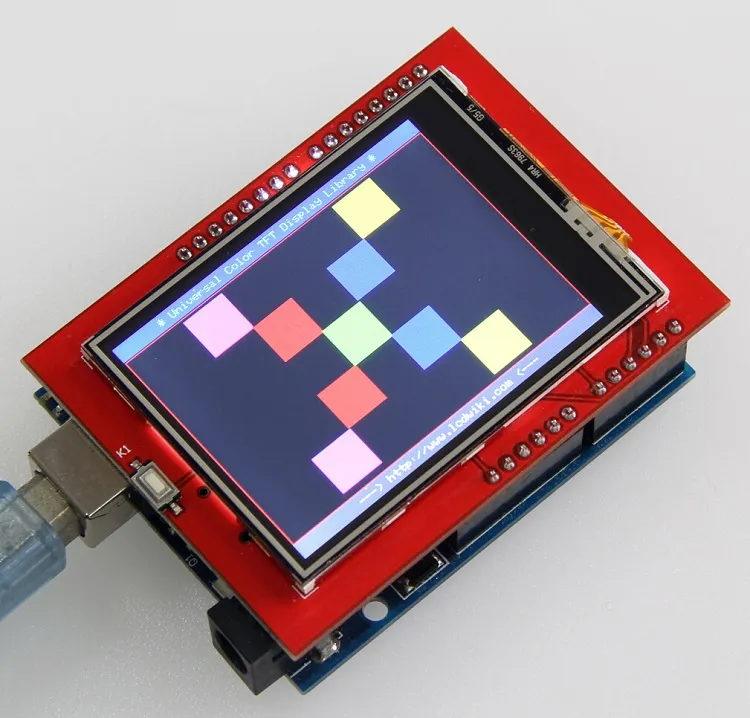
- Be the first to review this product
WRITE YOUR OWN REVIEW
How do you rate this product? *
